Getting Your Post Spacing Right
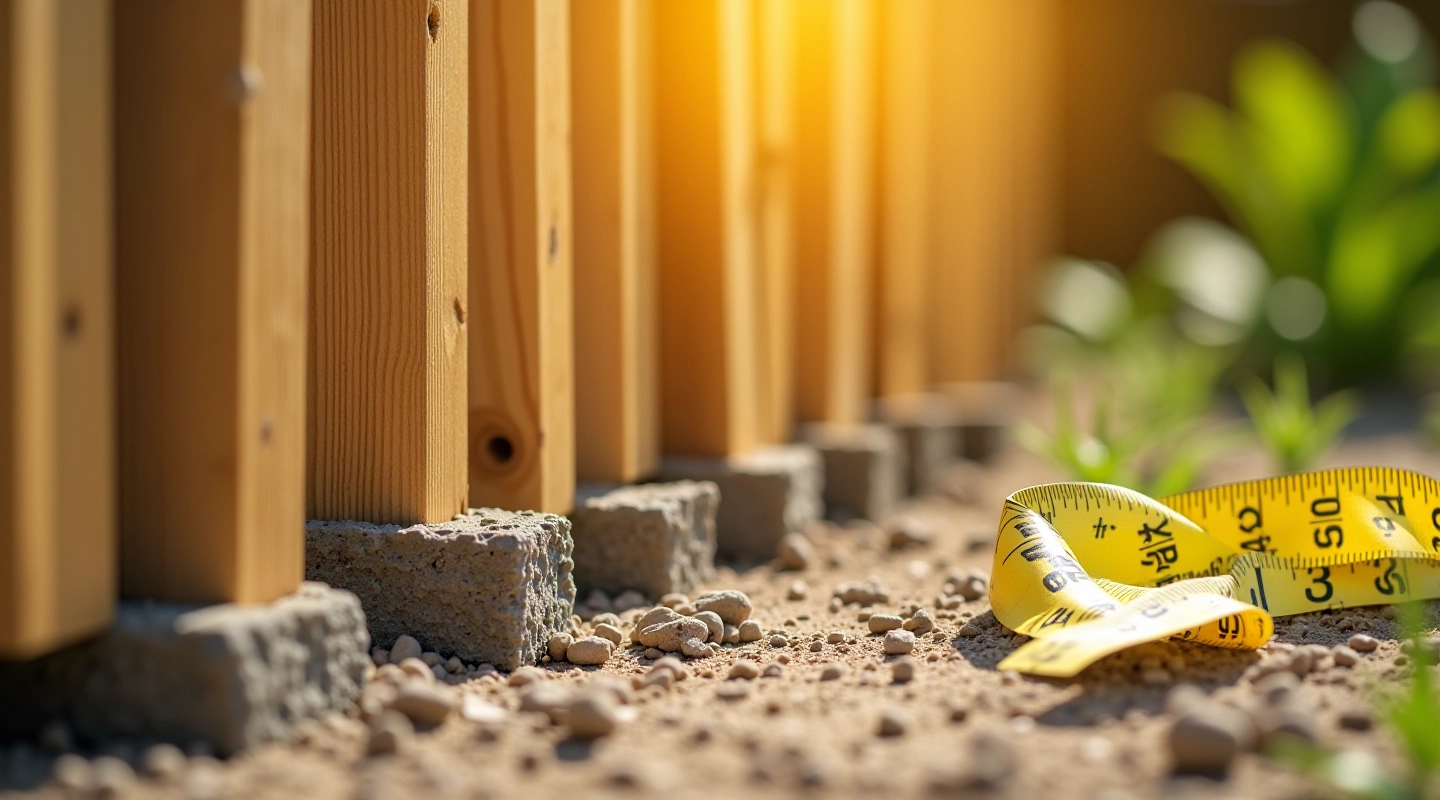
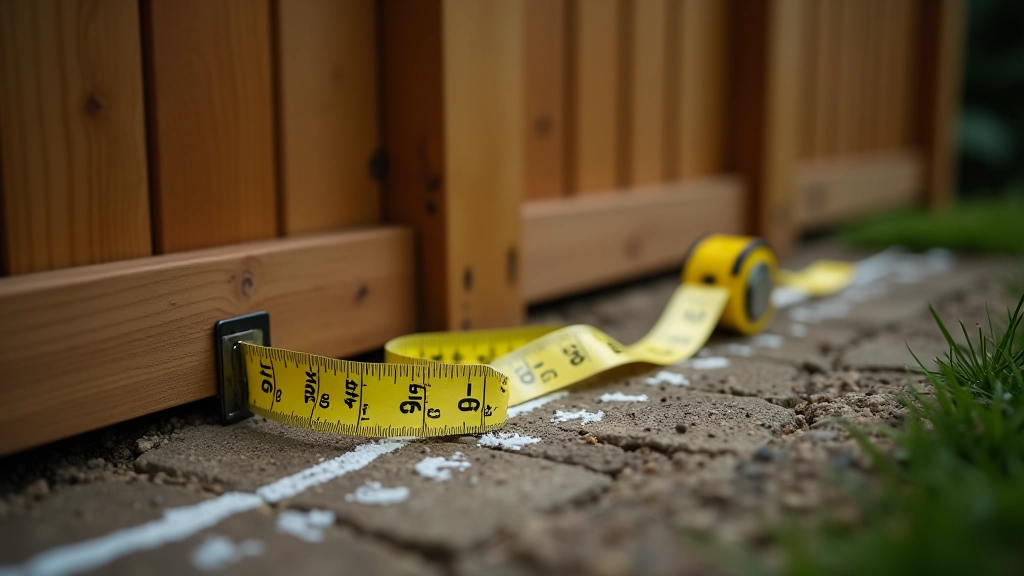
Post spacing is where most fences start going wrong. You'll want 6 feet between posts for standard fencing — that's measured from center to center. Don't measure from edge to edge; it's easy to mess up. A 6-foot span gives you enough flexibility with panel lengths and keeps everything looking proportional.
Mark out your line before you dig anything. We use chalk and a long string to snap a clear path. If your fence runs uphill or downhill, you'll need to adjust spacing slightly. Shorter spans work better on slopes because longer panels get weird-looking when they're tilted. Most people figure out after digging 3 posts that they should've planned this part better.
Corner posts are different — they don't follow the 6-foot rule. You'll set these first, then measure between them to figure out how many posts fit. It's easier that way.
Digging to the Right Depth
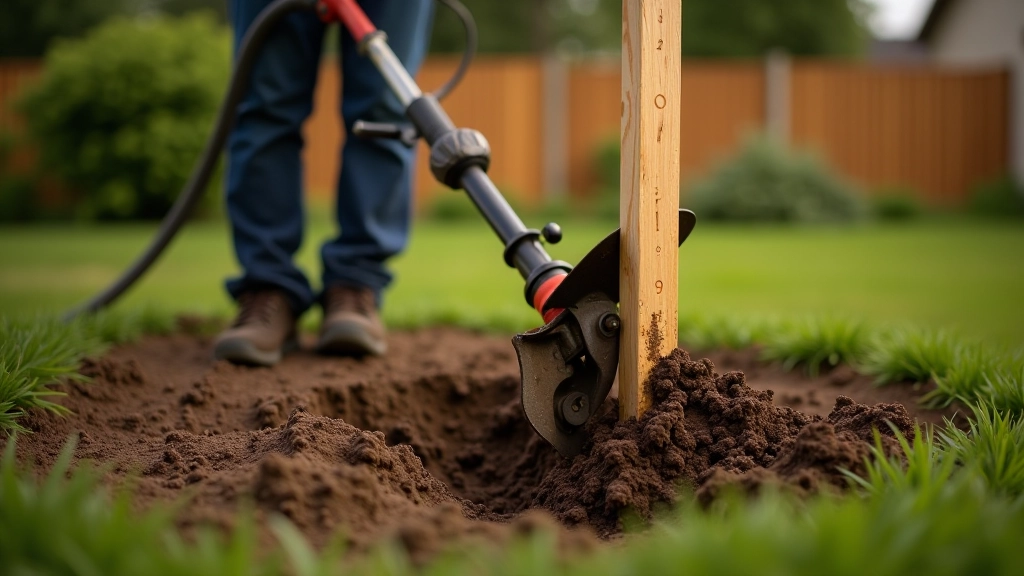
Depth is critical. You need roughly one-third of your post below ground. For a standard 6-foot fence, that means digging 24 to 30 inches deep. Sounds like a lot, but trust us — shallow posts shift with frost, and you'll be repairing fences every spring. Jūrmala's freeze-thaw cycles are rough on shallow installations.
The soil type matters here. Clay holds posts better than sandy soil, but it's harder to dig. If you've got sandy ground, you might want to go 32 inches to compensate. Rock bottom comes fast sometimes — if you hit rock at 20 inches, you've got two choices: move the post location slightly or use concrete to lock it in place. Don't try to break through rock with a shovel.
Post hole diggers are worth renting if you're doing more than four posts. A shovel takes forever and leaves you destroyed. Manual augers work decent for softer soil.
Getting Posts Perfectly Level and Plumb
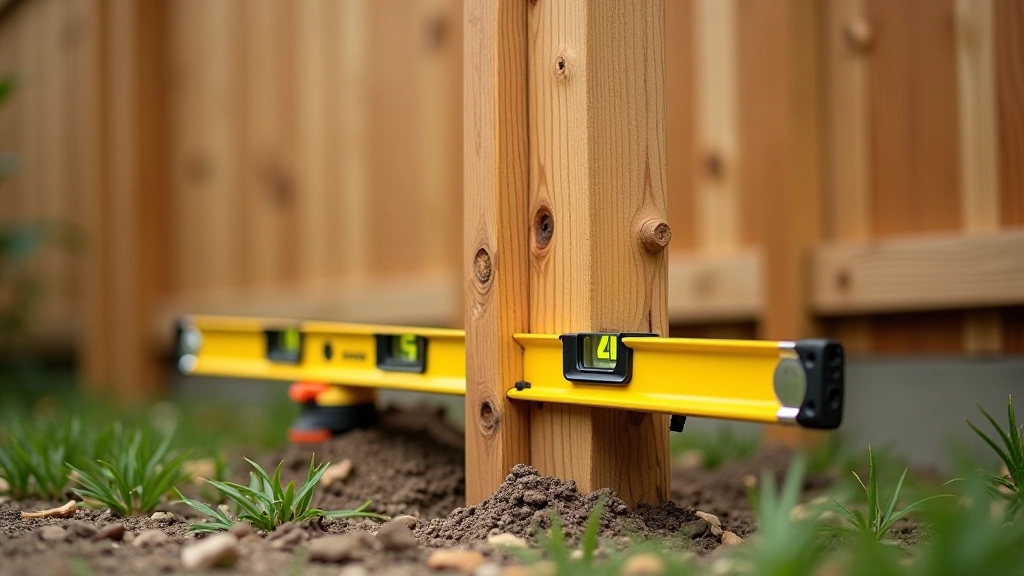
Level and plumb aren't the same thing, and both matter. Plumb means the post is perfectly vertical (straight up and down). Level means the top of the post is horizontal. You need plumb for the posts to look right and function properly — even slightly tilted posts throw off your panels and look sloppy.
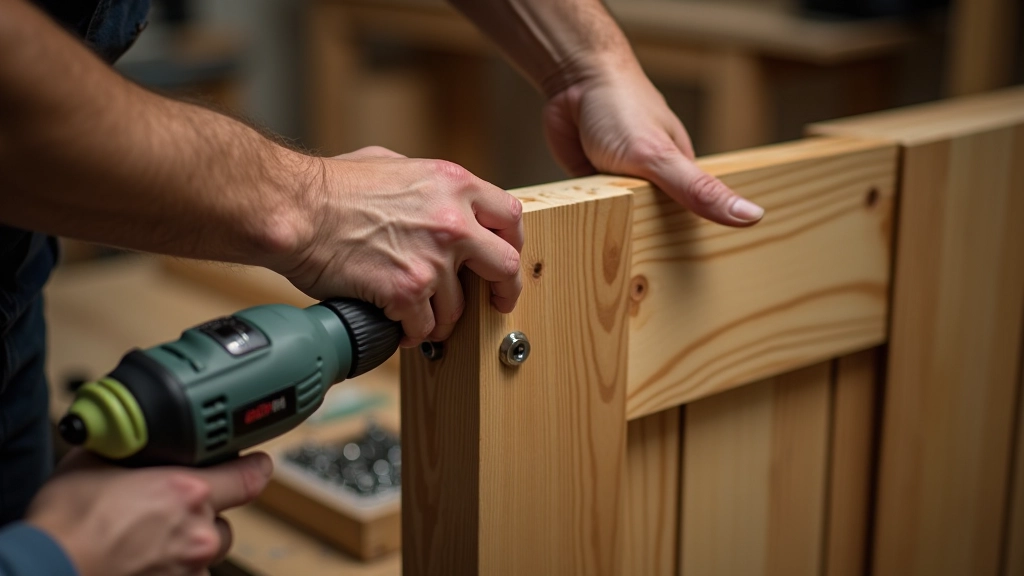
A 4-foot level is standard. Place it against two sides of the post while someone holds it steady. If you're working solo, brace the post with boards and stakes. Check it again from the other two sides. Take your time here — this is where precision actually saves you later. Posts that aren't plumb by 1 degree get really obvious once you attach panels.
Don't rely on the ground to be level. You'll set posts on a slope where the terrain drops 2 or 3 inches over 6 feet. The post itself needs to be plumb anyway. Your concrete sets fast, so get it right before it hardens.
Concrete and Securing Posts
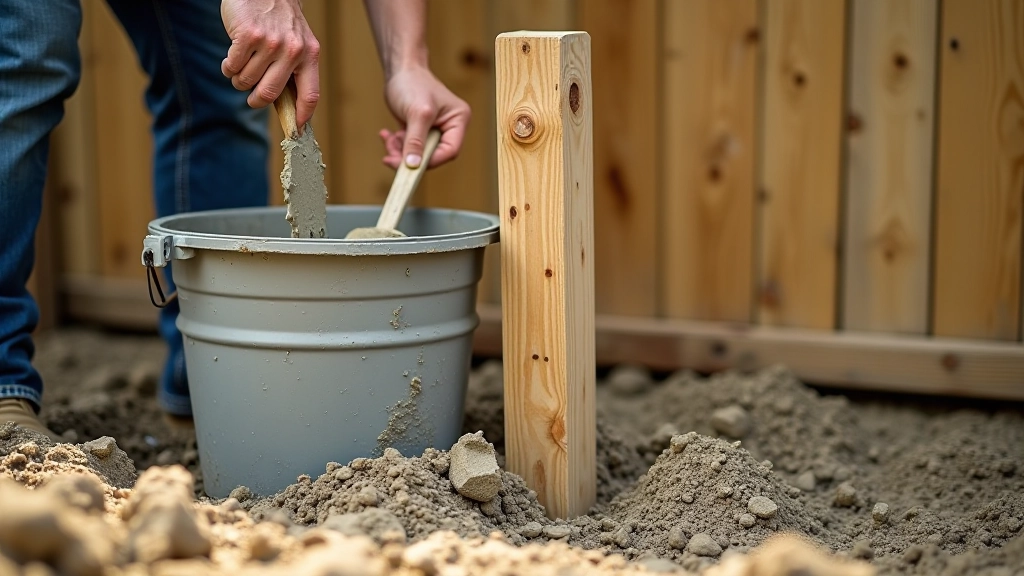
Concrete is your best friend for fence posts. You don't need fancy concrete mix — basic 60-pound bags work fine. Plan on 2 to 3 bags per post. Mix it so it's thick but workable, then pour it around the post in the hole. Fill it all the way to the top, not just halfway.
Some people add gravel to the bottom first. It's not necessary but helps with drainage if your area gets waterlogged. The post itself doesn't rot faster with concrete around it if you use pressure-treated lumber. Just don't let the concrete sit on the post itself — the post should go into the ground first, then concrete fills around it.
Let concrete cure for 24 to 48 hours before you attach panels. Rushing this is how fences shift. Concrete's still soft even if it feels hard on top. Wait the full time.
The Real Takeaway
Posts are boring, but they're everything. A fence with solid posts and mediocre panels looks fine. A fence with mediocre posts and great panels falls apart. Spend the time getting posts right — measure carefully, dig deep enough, check plumb from multiple angles, and use concrete. Your fence will last years longer, and you won't be wrestling with sagging gates or tilted panels every season.
The foundation work feels tedious when you're doing it. But standing back and seeing a straight, level fence line that you built properly? That's worth the effort.