

Setting Posts the Right Way
The foundation of any fence. Learn proper post spacing, depth, and how to get them plumb and stable.
The most common mistake is using wrong fasteners. Here's what actually works and why pilot holes matter.
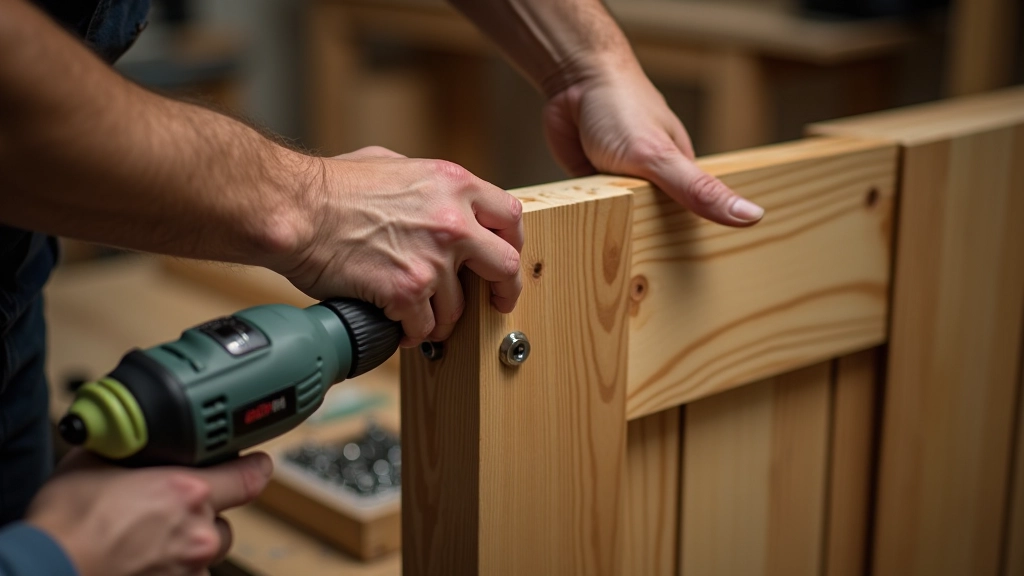
You've got your posts set correctly. They're plumb, they're at the right depth, and they're spaced properly. Now comes the part that'll either make your fence last 15 years or fail in 5: how you attach those panels.
This isn't complicated. But it's easy to get wrong. Most people either skip pilot holes entirely, or they use nails when they should be using screws. Both approaches lead to split wood. And split wood means water gets in, rot follows, and suddenly you're rebuilding.
We're going to walk through exactly what works. The fastener types that matter. Why pilot holes aren't optional. And the technique that makes the difference between a fence that holds solid and one that fails.
Editorial Team
Written by the ilvaworks Editorial Team, focused on practical, honest fence and gate installation guidance.
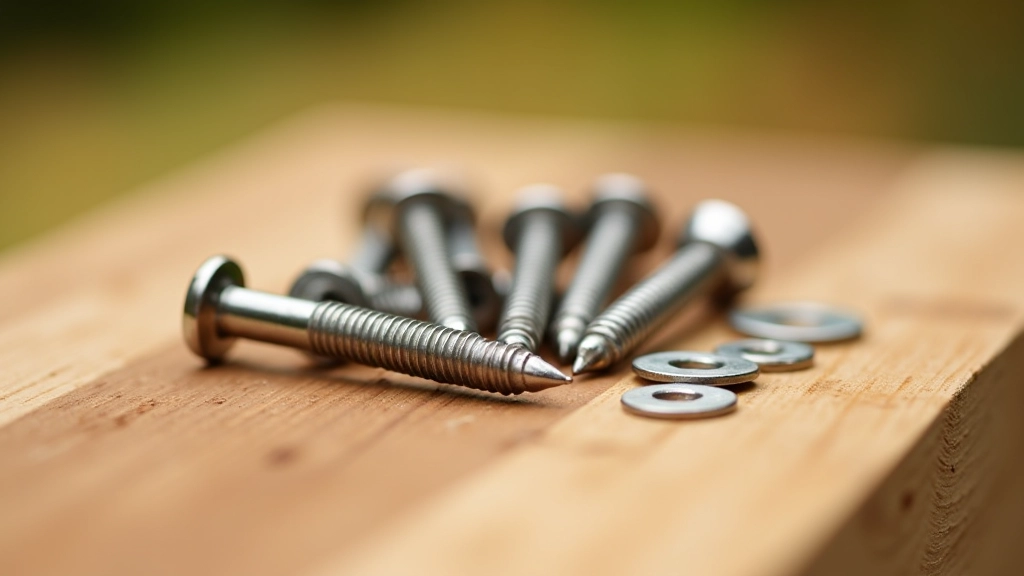
The fastener you choose determines everything. It's not just about holding the panel in place — it's about how the wood responds when that fastener goes in.
Nails work through sheer friction and the wood fibers gripping the shaft. But when you drive a nail into wood without a pilot hole, you're forcing the fibers apart. That creates stress. The wood wants to split. Sometimes it does immediately. Sometimes it takes months or years of weather expansion and contraction before the split appears.
Screws work differently. The threads cut into the wood and pull the two pieces together. This is a better grip, but only if you do it right. Without a pilot hole, you're still forcing the issue. The screw can still cause splitting, especially in hardwoods like oak or cedar.
Here's what we recommend: exterior-grade screws with stainless steel or hot-dipped galvanized coating. The coating prevents rust. The screw design pulls without splitting when you use a proper pilot hole.
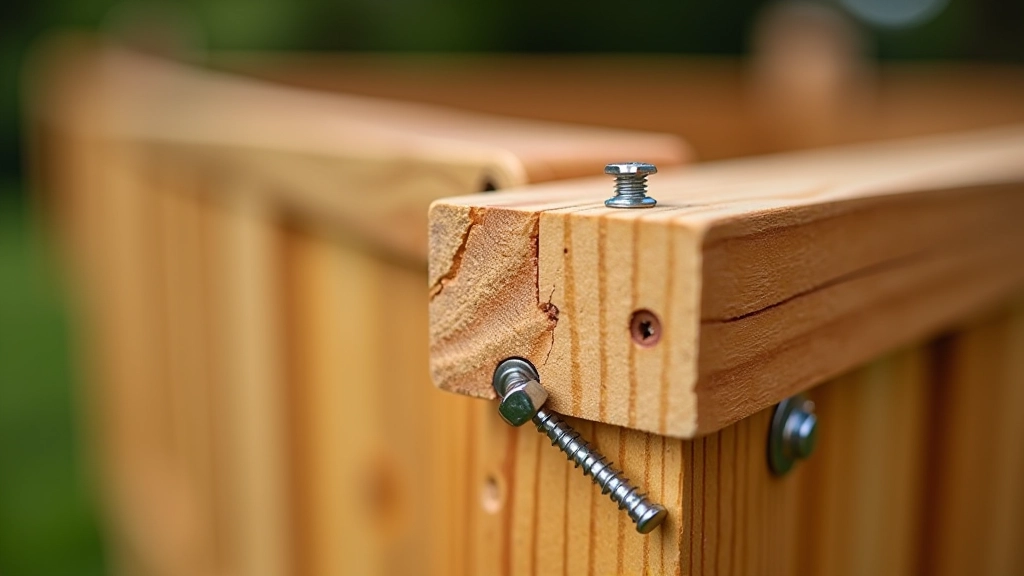
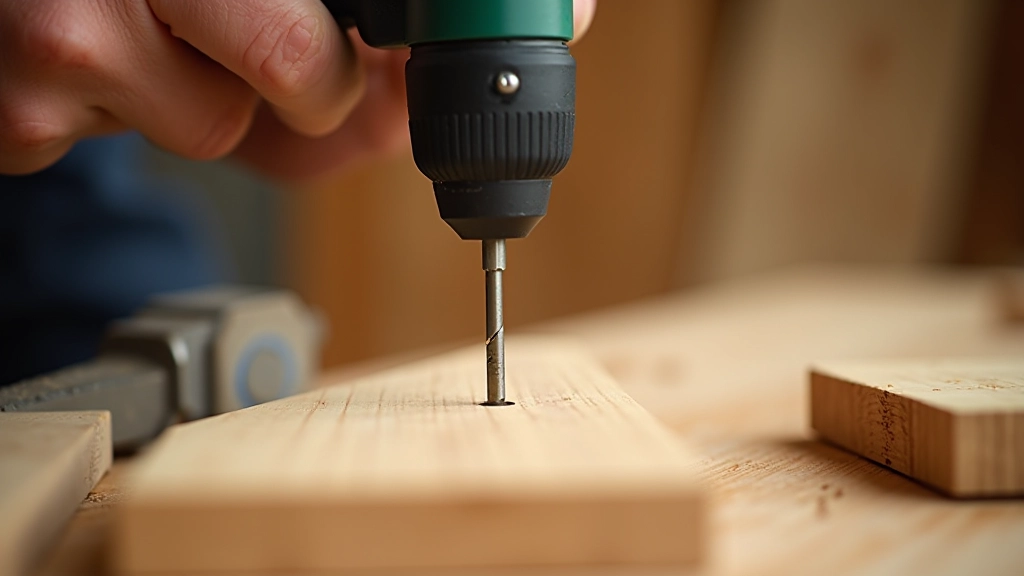
A pilot hole isn't extra work. It's insurance. You're pre-drilling a hole slightly smaller than your screw shaft. This gives the threads a clear path to follow.
The drill bit size matters. For a 3/16-inch screw, use a 7/64-inch bit. For a 1/4-inch screw, use a 9/64-inch bit. If you don't have the exact size, err smaller. A slightly tight hole is better than too loose.
Depth matters too. Your pilot hole should go about 2/3 of the way through the panel. Not all the way — that weakens the connection. But deep enough that the screw has room to thread without resistance.
This takes maybe 30 seconds per hole. If you're attaching a 6-foot panel with three screws per section, you're looking at 90 seconds of drilling. That's it. And it's the difference between a fence that holds and one that splits within a year.
Screws per panel section (depending on width)
Screw length for standard fence panels
Pilot hole depth (of panel thickness)
Time per hole (drilling + fastening)
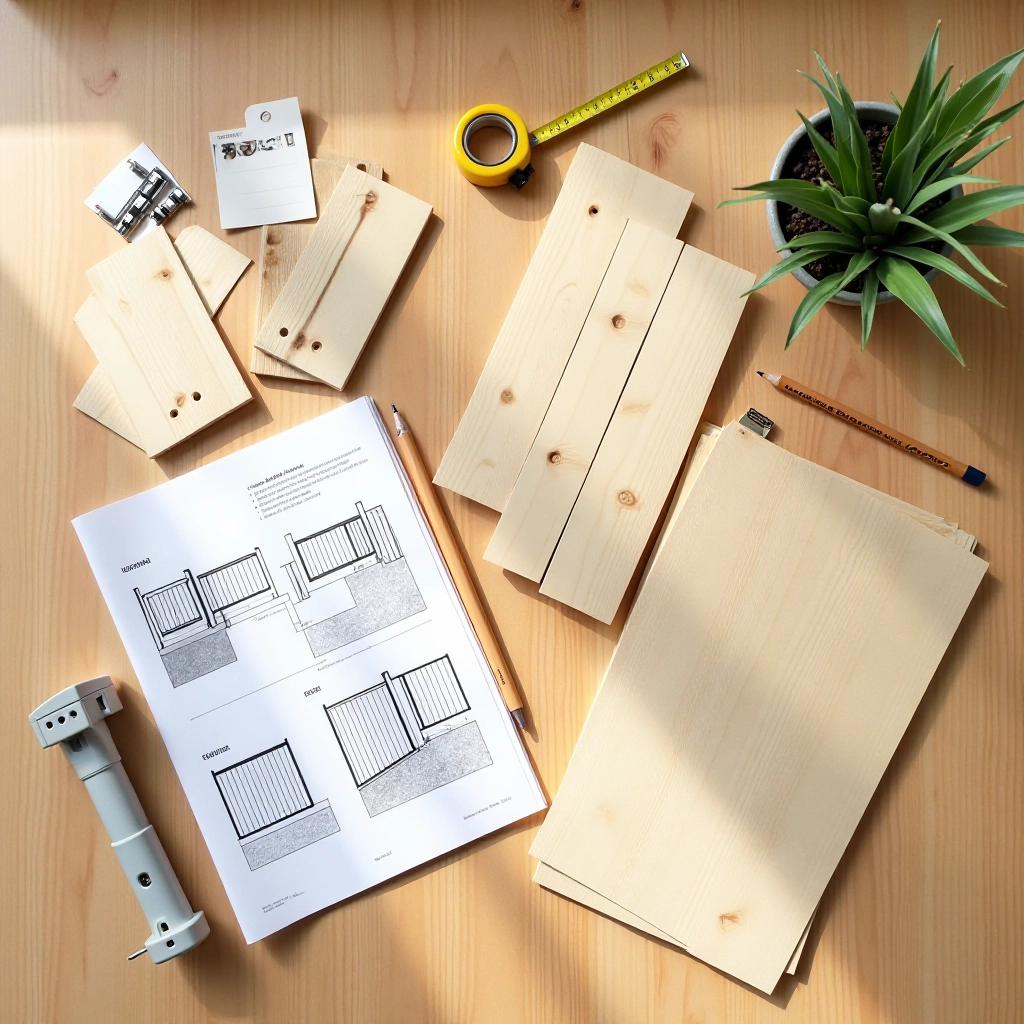
Here's the actual process. It's straightforward once you know the steps.
First, position your panel against the posts. Use a level to check it's plumb. If it's not, adjust it now — don't rely on fasteners to fix alignment. Once it's level, clamp it to the post. This holds it steady while you work.
Mark your screw locations. For a standard 6-foot panel, place screws about 2 feet apart vertically. You want at least one near the top, one near the bottom, and one in the middle. More is fine. More fastening points mean a stronger connection.
Drill your pilot holes. Use a hand drill or cordless drill on low speed. You're not in a race. Steady, controlled pressure. Once you've drilled all your holes, you can drive the screws.
When driving screws, use a drill on low torque or a screwdriver by hand. Don't strip the hole. The screw should sit flush with the wood surface, not recessed or protruding. If it's sticking out, you'll catch water. If it's recessed, water pools in the depression.
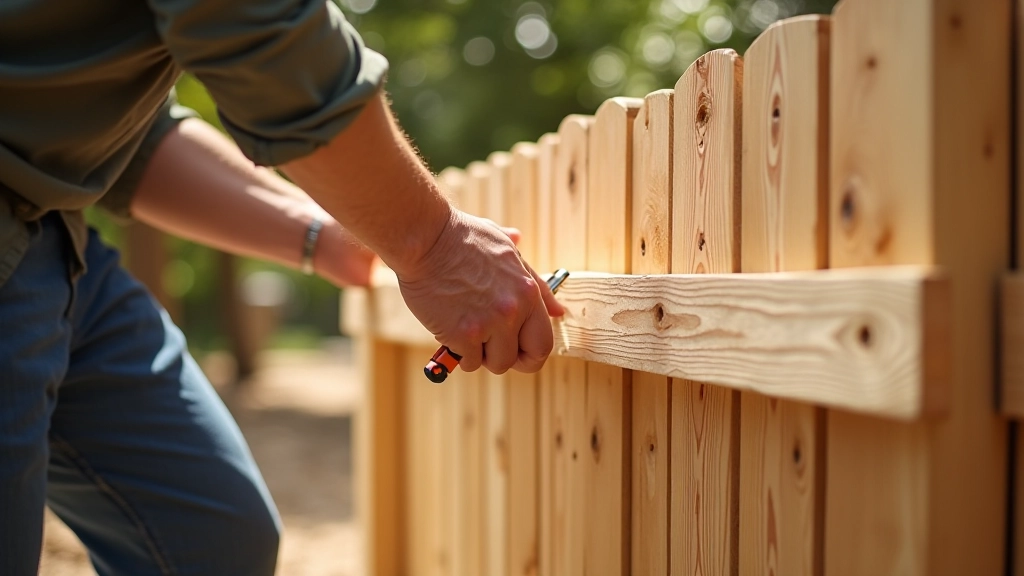
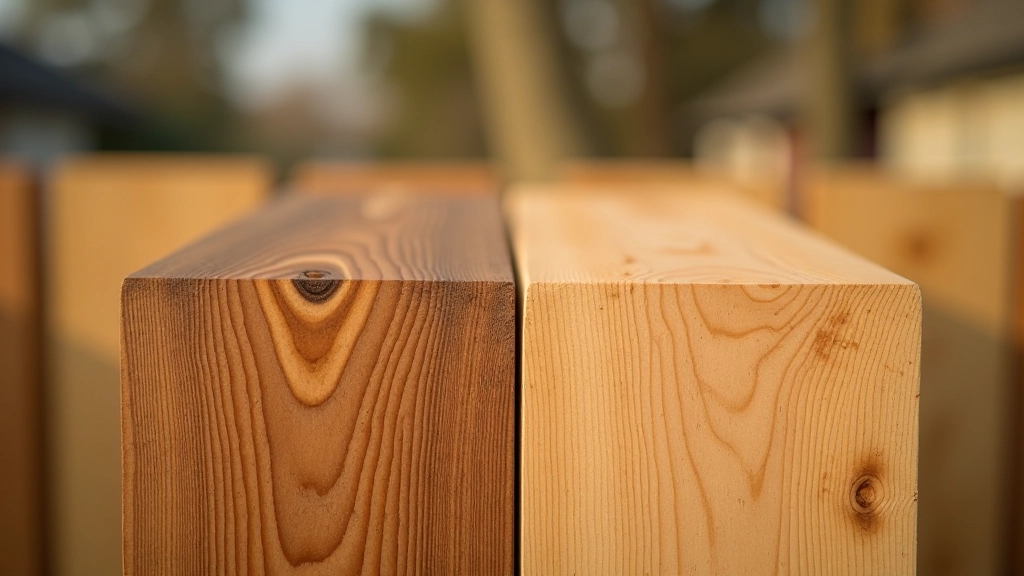
Not all wood is created equal when it comes to splitting. Softwoods like pine are more forgiving. Hardwoods like oak or cedar are more prone to splitting because the grain is tighter.
If you're working with hardwood, slow down. Use smaller pilot holes relative to the screw size. The tighter grain needs more careful work. It's not a disaster — you just need to be deliberate about it.
Pre-treated lumber helps too. The treatment softens the wood slightly and makes it more receptive to fasteners. But whether you use treated or untreated, the pilot hole is still your best defense.
One more thing: if you see a split starting as you're working, stop. Don't force the screw in. Back it out, relocate the screw slightly, and try again. Sometimes the grain just doesn't cooperate at that exact spot. That's fine. Move 2-3 inches and try a new hole.
When you do this right, the fence feels different. The panels don't rattle or shift when you push on them. There's no creaking from loose connections. And over time — 3, 5, 10 years — you won't see stress cracks developing around the fastener locations.
That's the real win here. You're not just following instructions. You're building something that'll last because you took 90 seconds per panel to do it properly. Your future self will appreciate not having to repair or replace fence sections that failed prematurely.
The materials cost maybe 10-15% more if you're buying stainless steel screws instead of cheap nails. The time investment is negligible. The difference in longevity? Huge. That's the trade-off. And it's one you'll want to take.
This guide provides general educational information about fence panel installation techniques. While these methods are widely used and effective, actual installation should be adapted to your specific wood type, climate conditions, and local building codes. We recommend consulting with local professionals or authorities before beginning major fence work. Environmental conditions, material quality, and individual technique variations may affect results. This information is intended as a learning resource, not as professional installation advice.
Explore these related guides to complete your fence installation knowledge
The foundation of any fence. Learn proper post spacing, depth, and how to get them plumb and stable.
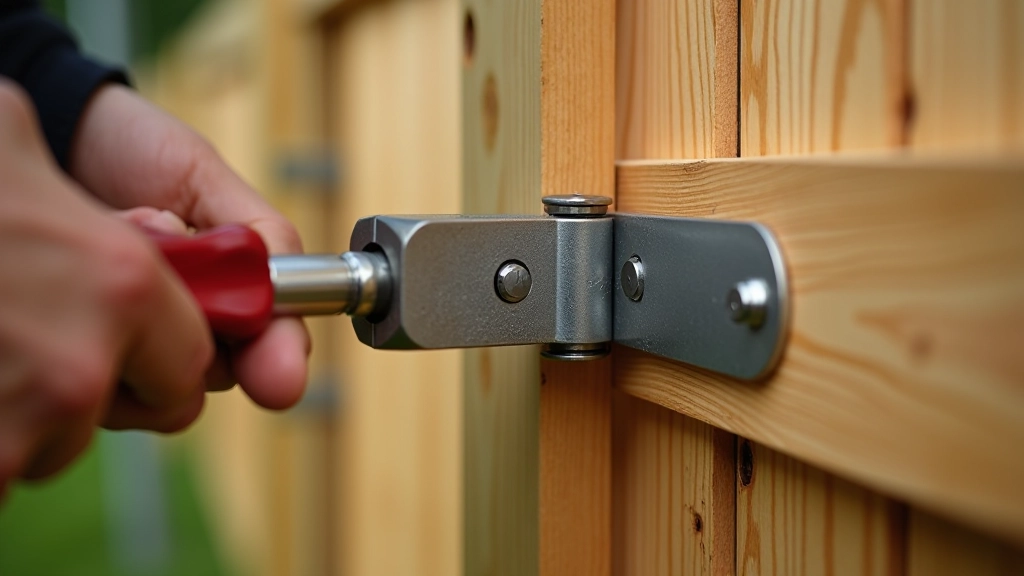
Sagging gates are preventable. Learn about hinge placement, weight distribution, and proper alignment.
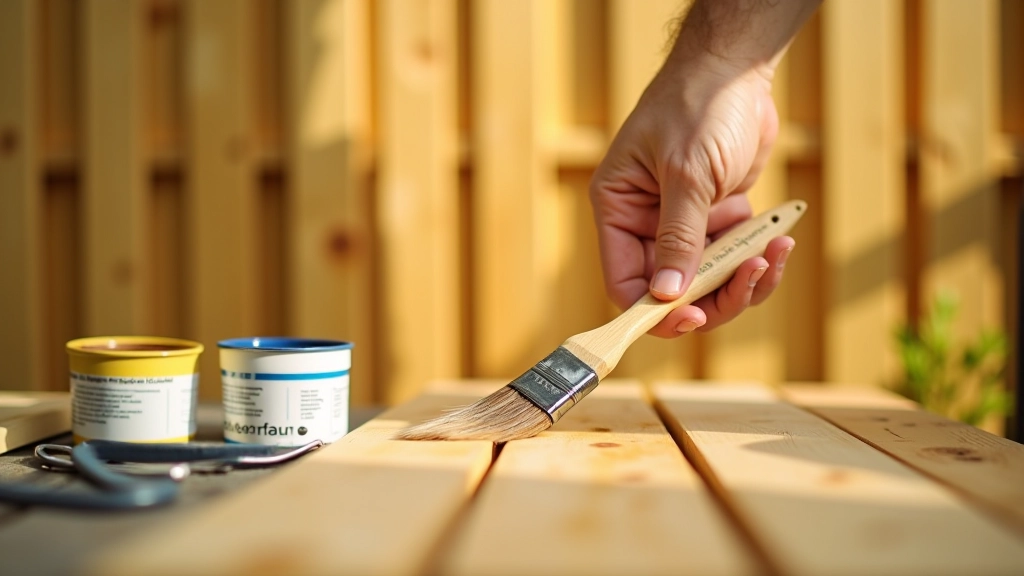
Jūrmala's salt air and moisture are tough on wood. Find out which sealers work best for durability.