

Setting Posts the Right Way
The foundation of any fence. Learn proper post spacing, depth, and how to get them perfectly straight.
Sagging gates aren't inevitable. They're the result of poor hinge placement, wrong hardware, and missing support. We'll walk you through the exact techniques that prevent sagging and keep gates operating smoothly for years.
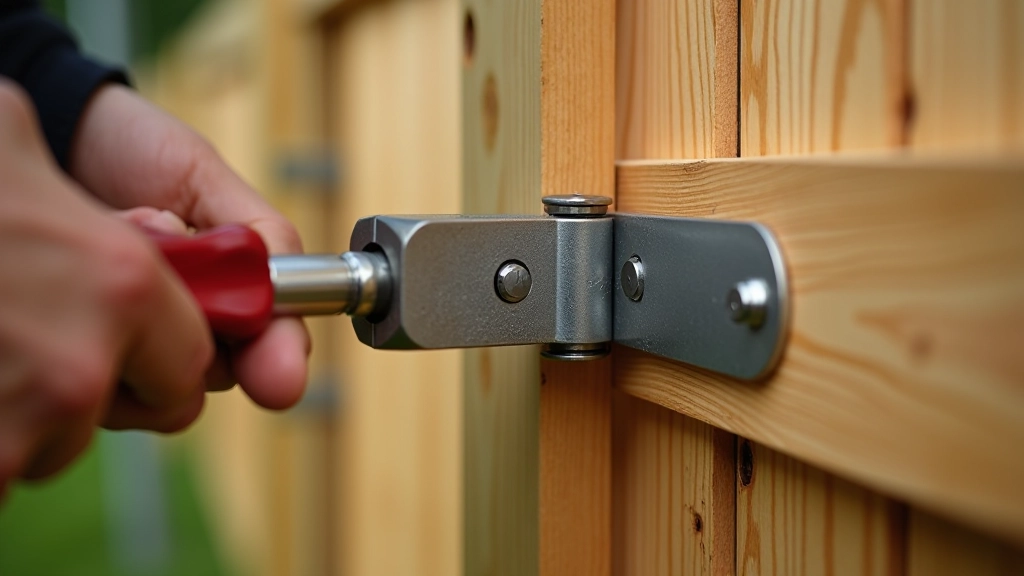
It's not complicated why gates sag. Most people think about hinges as an afterthought — they grab whatever's available and wonder why the gate drags on the ground six months later. The real issue starts before you even hang the gate.
Gates are heavy. A solid wooden gate can weigh 80-150 pounds depending on the size and wood type. That weight doesn't distribute evenly — it's concentrated at the bottom, pulling downward constantly. Without proper support underneath and the right hardware on top, something's got to give. Usually it's the hinges that fail first, then the frame warps, and suddenly you've got a gate that won't close properly.
Hinges are everything. Don't settle for cheap butt hinges from the hardware store bin. You need heavy-duty strap hinges or tee hinges — these are designed specifically for gates and distribute weight across a larger surface area.
For a wooden gate, look for stainless steel or galvanized strap hinges. Stainless won't rust in damp climates like Jūrmala. Strap hinges have a long vertical plate that extends across the gate face, which is crucial. The longer the strap, the better the weight distribution.
You'll want at least two hinges, but three is better for gates taller than 4 feet. Place the top hinge 6-8 inches from the top of the gate, the bottom hinge 8-10 inches from the bottom, and if you're using three, space the middle one evenly between them. This spacing prevents the gate from sagging at the center.
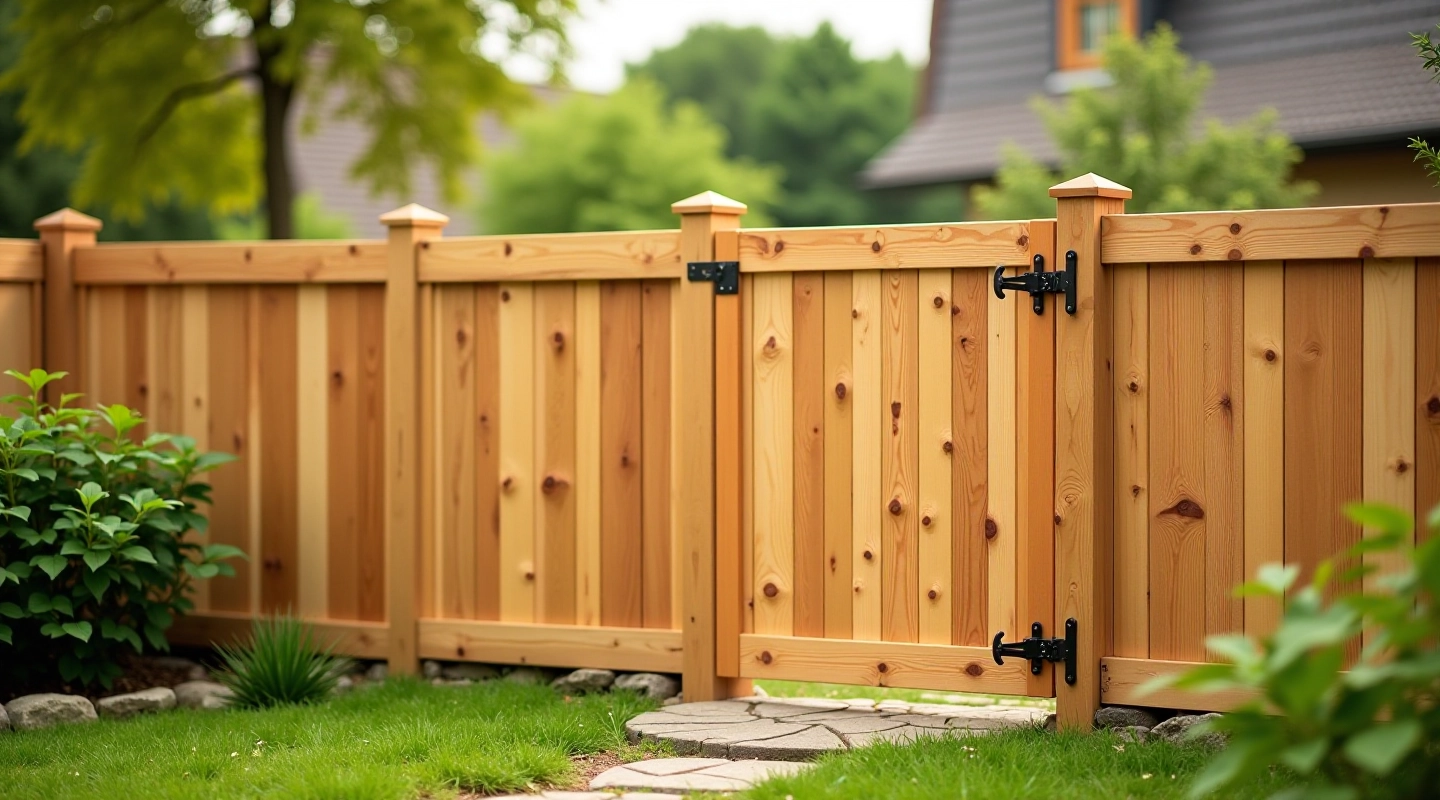
The gate frame itself needs to be solid before hinges go on. Many people skip this step and it's a mistake. You need diagonal bracing on the frame — this prevents racking (the frame twisting out of square).
The diagonal brace runs from the bottom hinge side up to the opposite top corner. It's a single piece of wood — typically 2x4 or 2x6 depending on gate size — that runs diagonally across the back. Secure it with bolts, not just screws. Bolts won't loosen over time the way fasteners do.
If you're building a heavier gate, add a horizontal cross brace underneath as well. This takes tremendous pressure off the hinges. Position it about 12 inches up from the bottom. This distributes the weight downward rather than putting all the stress on those top hinges.
Once you've got your hardware and frame built properly, installation is actually straightforward. But there's a right way and a wrong way, and small mistakes compound quickly.
First, hang the gate without latching it. You want it to swing freely and settle naturally under its own weight. Mark where the hinges sit on the post, then remove the gate. This lets you drill pilot holes accurately. Don't skip pilot holes — they prevent splitting, especially in hardwoods.
Use bolts for the hinge attachment, not just lag screws. Bolts go completely through the post and get a washer and nut on the back side. They'll never loosen. Tighten them firmly but don't overtighten — you can strip the threads. Once bolted, rehang the gate and check the gap between gate and post. It should be even top to bottom, around 1/4 inch. If it's not, shim the hinges slightly.
A gate won't "actually close smoothly" if the latch system is wrong. The latch has to engage with minimal effort, but hold firmly when needed. You've got options here.
Self-closing hinges are one approach — they use springs to pull the gate shut automatically. They're convenient but can be noisy and wear out over time. A better solution for wooden gates is a simple gravity latch combined with a friction closer. The gravity latch (sometimes called a drop latch) uses the gate's own weight to engage. The friction closer is an arm that dampens the swing, preventing the gate from slamming.
Mount the latch striker plate at the exact point where the gate rests when closed. It needs to be perfectly aligned or the latch won't engage properly. Test it by closing the gate gently — it should catch without forcing. If you have to slam it or force it down, the striker's in the wrong spot.
Installing a gate that actually works is about getting the fundamentals right. Heavy-duty strap hinges, proper frame bracing, bolted connections, and the right latch system — these aren't fancy tricks. They're just what gates need to function well.
Most gate failures happen because people rush. They use whatever hinges were cheapest, skip the diagonal brace, use screws instead of bolts. Then six months later the gate sags. You're spending a little more time and money upfront, but you'll have a gate that swings smoothly for years without sagging or binding. That's worth it.
Editorial Team
Written by the ilvaworks Editorial Team, focused on practical, honest fence and gate installation guidance.
This guide provides general information about gate installation techniques. Specific conditions, local building codes, soil types, and weather patterns may affect installation methods. Always verify local building requirements before beginning work. If you're unsure about any step, consult with a local contractor or builder who understands conditions specific to your area.
Continue learning about fence and gate installation
The foundation of any fence. Learn proper post spacing, depth, and how to get them perfectly straight.
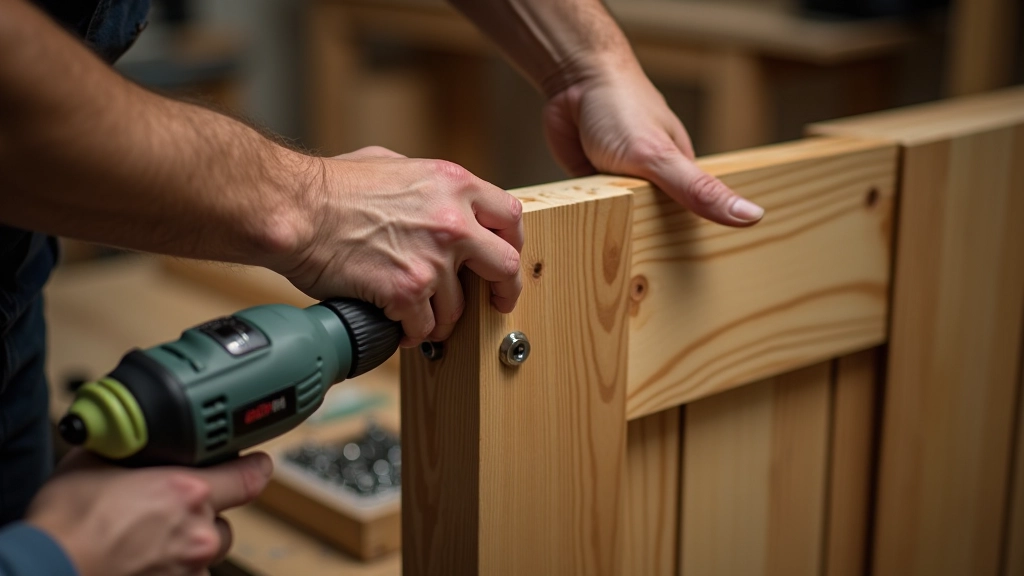
The most common mistake is using wrong fasteners. Here's what actually works and why.
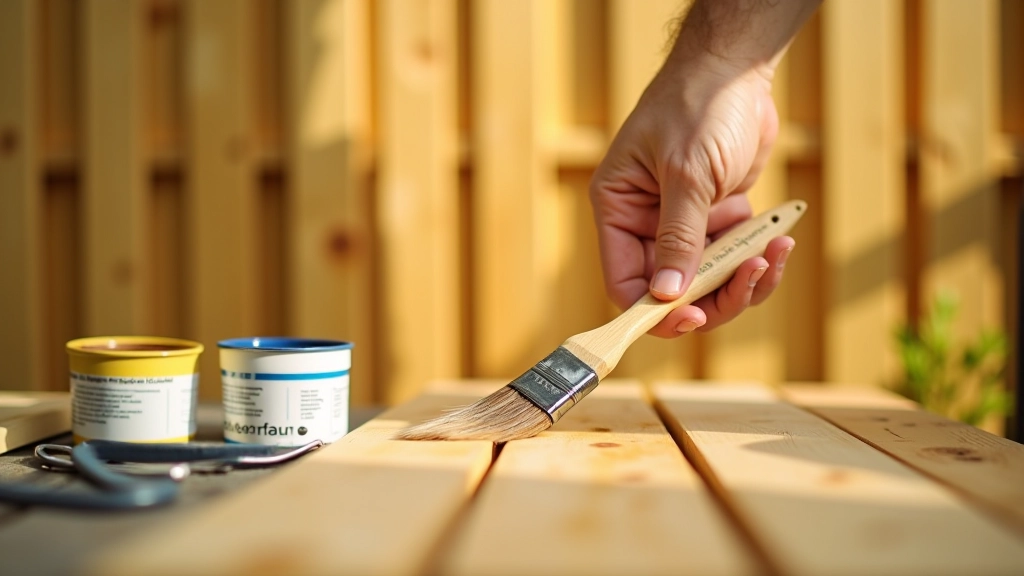
Jūrmala's salt air and moisture are tough on wood. Find out which sealers work best.